Map and compass are usually taught as two subjects, and outdoors they are one. The map is the plan; the compass is how the plan survives contact with a landscape that does not label itself. The workflow has a fixed sequence, and each step exists because the next one needs it: an unoriented map gives a crooked bearing, an uncorrected bearing walks you off line, and an unchecked walk compounds quietly. Learn the sequence as a single routine, practice it somewhere forgiving, and it becomes the most reliable navigation system you own, one that never asks for signal. The measurer below works with real places and their bearings; the routine that follows is what those numbers are for.
Home / Map Skills for Travel and Outdoors
How to Read a Map and Compass Together: The Integrated Workflow
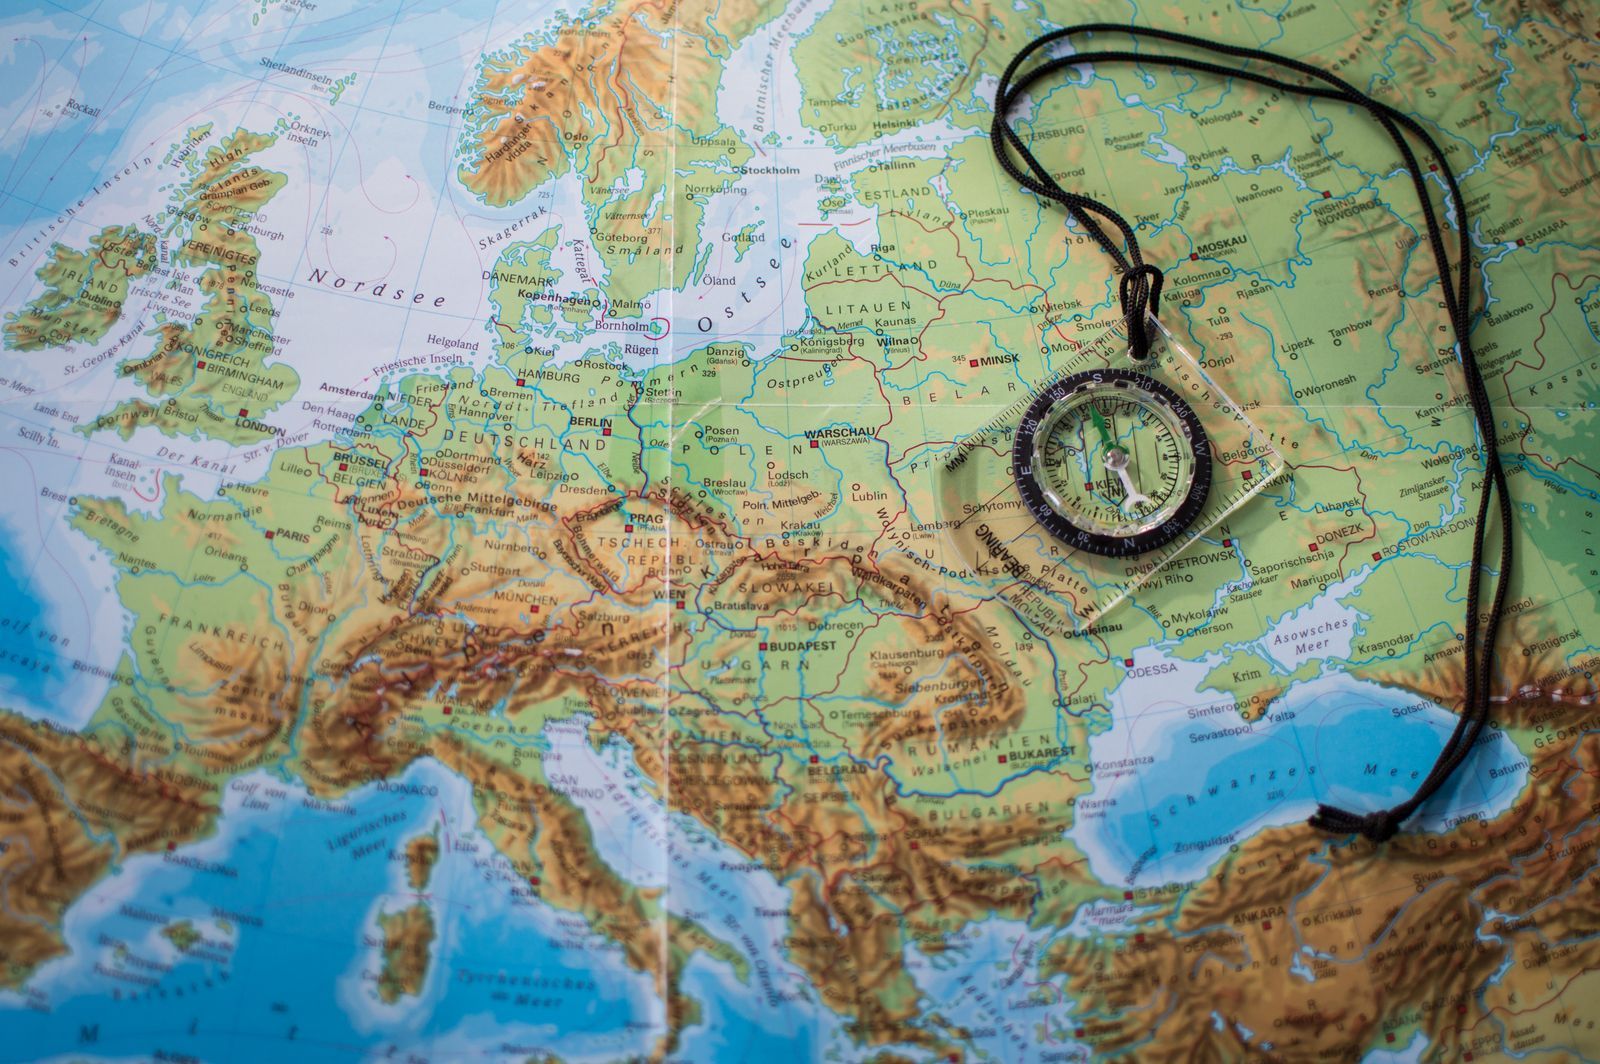
Photo: Aliaksei Lepik / Pexels
Interactive map
Distance Measurer: Bearings Between Real Places
Click a start and a destination and read the distance and the initial bearing between them. That bearing is a grid style number like the ones this article takes from a paper map, before declination turns it into a compass bearing.
Total straight-line distance, 0 points
Click the map to start
Distances are great-circle (haversine, mean Earth radius 6,371 km): the shortest path over the surface, not a road or trail distance. Map data © OpenStreetMap contributors.
Step One: Orient the Map
Lay the compass on the map with its edge along the map's north lines, then rotate map and compass together until the compass needle's north end points to the top of the map, with the declination adjustment made if your compass has one. The map is now oriented: every feature on paper points the same way as its real counterpart on the ground. This step is the foundation and the most skipped, because a map feels readable unoriented at a picnic table. In the field, orientation is what lets you match a ridge on paper to the ridge in front of you without mental rotation, and mental rotation under fatigue is where navigation errors breed. Our how to read a map guide builds the map literacy this step assumes.
Step Two: Take the Bearing From the Map
Place the compass baseplate edge along the line from where you are to where you are going, direction of travel arrow pointing at the destination. Rotate the compass housing until its orienting lines run parallel to the map's north lines, north end toward map north. Read the number at the index line: that is your map bearing. For the mechanics of this reading in isolation, the protractor work, the reversed edge error, and the drills, our dedicated guide to how to read a map bearing goes deeper. Then the correction: map bearings live in grid north's world, and your compass needle lives in magnetic north's. With declination of 12 degrees east, subtract 12 to walk the bearing: map 90 becomes compass 78. With 8 degrees west, add: map 90 becomes compass 98. Adjustable declination compasses let you bake the correction in once per region; without one, the arithmetic is the price of accuracy, and skipping it walks you off line by exactly the declination, every time.
Step Three: Transfer the Bearing to the Land
Lift the compass off the map, hold it level in front of you, and turn your whole body until the magnetic needle settles inside the orienting arrow, the red end in its shed. The direction of travel arrow now points at your destination, whether or not you can see it. Pick an intermediate landmark on that line, a distinctive tree, a rock, a bend, and walk to it; then repeat the sighting from there. This leapfrog is the field craft that makes a bearing walkable: you never navigate to the horizon, you navigate to the next visible thing on the line. The compass skills underneath, dial literacy and needle behavior, are taught in how to read a compass and how to use a compass.
Step Four: Follow, Check, and Relocate
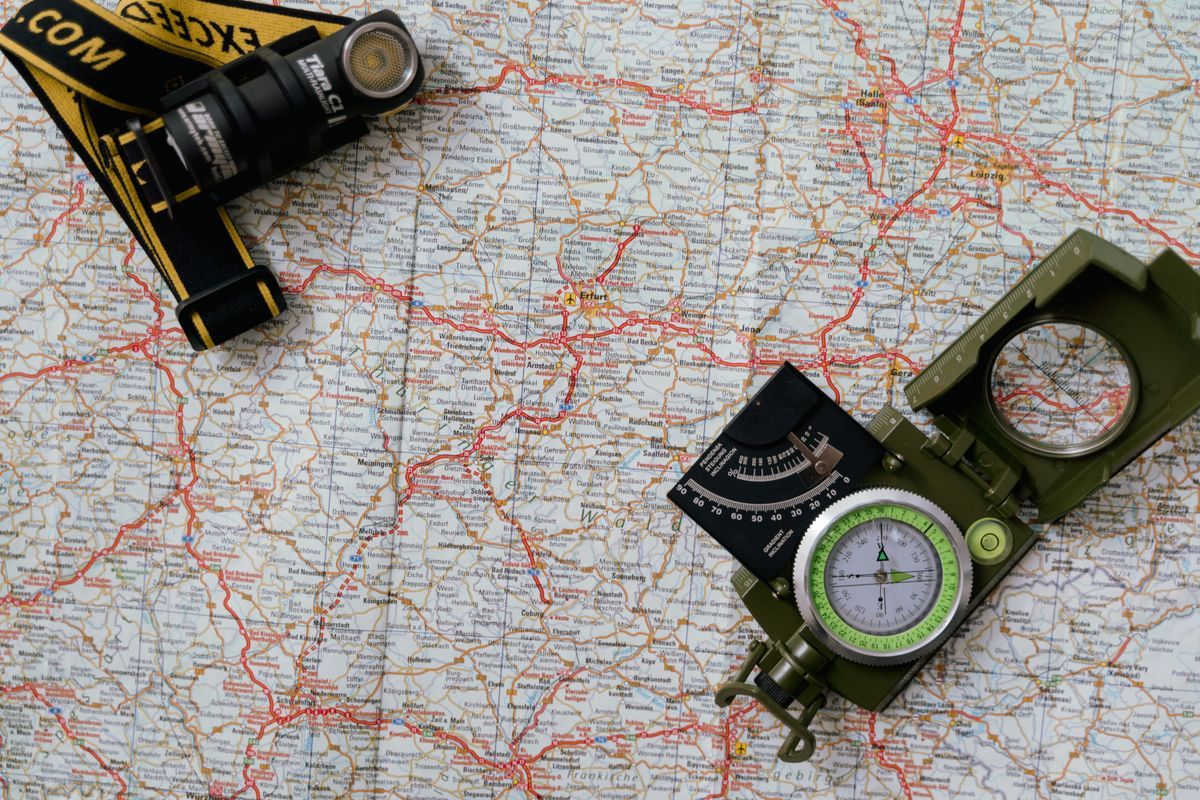
A bearing is a hypothesis, and the terrain grades it. Check your back bearing occasionally: the return line is your forward bearing plus or minus 180 degrees, so a 60 degree outbound leg returns on 240. Watch for handrails, features running parallel to your route like a stream or a ridge, and catching features beyond your target that tell you you have overshot. When the ground stops matching the map, relocate properly instead of hoping: take bearings on two identifiable landmarks, transfer both to the map, and your position is where the lines cross, the resection that turns lost back into located. Elevation is your third witness throughout: the contour pattern under your feet, read with how to read a contour map, confirms or denies the position the bearings propose. And when there is no compass at all, the sun and watch methods in how to find north without a compass keep the workflow alive in degraded form.
A Worked Mini Route
You stand at a trailhead, bound for a lake 2 km northeast across pathless woodland, declination 12 degrees east. Orient the map at the trailhead sign. Baseplate edge from trailhead to lake, housing to the grid: map bearing reads 52 degrees, close to the 52.3 degree initial bearing this site uses for New York to Boston, a useful anchor number. Correct for declination: 52 minus 12 = 40 degrees on the compass. Body turn until red is in the shed; the arrow picks out a lone pine at the wood's edge. Walk to the pine, re-sight, pick the next mark. Halfway, a stream crosses your line where the map says one should: handrail confirmed. At the lake's outflow you arrive within sight of the shore, because a well walked bearing over 2 km with landmark checks lands within a few degrees of line, and a few degrees over 2 km is a short walk along the shore, not a search. That is the whole system, and it scales from this pond to any pathless country on Earth.
The Kit and the Conditions That Break It
The workflow assumes a baseplate compass, the clear rectangular kind with a rotating housing; a liquid filled capsule for a steady needle; and a map whose margin prints a declination diagram and a north arrow you can trust. Check the map's age against the declination it prints: declination drifts year by year, and an old map's figure can be a degree or more stale, which matters on long legs. Know the local interference rogues: power lines, vehicles, a knife or phone in the same hand, and iron rich rock can all pull a needle, so take field bearings a step away from metal and doubt any reading that disagrees with the terrain's obvious story. In the far southern hemisphere the needle itself is balanced for its hemisphere and dips or drags elsewhere; compasses are sold zoned for a reason. None of this is exotic knowledge. It is the maintenance layer of the craft, the part that separates a workflow that works on a course weekend from one that works on the trip where it counts, which is the standard this site's compass guide and map test are built to hold.
Teaching It: The Afternoon Version
The integrated workflow compresses into one honest afternoon of practice. Hour one, at a table: orient maps, take bearings between printed landmarks, convert with the local declination, and check each against a phone readout after the fact. Hour two, in a park: walk three short legs on compass bearings alone, landmark to landmark, and score the arrivals. Hour three, the relocation game: a partner leads you somewhere in the park with your eyes on the ground, and you resect your position from two landmarks before confirming it. That afternoon produces more durable skill than a month of reading, because every step of the sequence gets one honest repetition with feedback. Then the workflow goes on real trips in its proper role: primary in the hills you are learning, checked against the phone in the hills you know, and sovereign on the day the phone dies, which is the day the whole system was built for. The apps do not make this obsolete; they make it a choice, and our best hiking map app guide happily sells the choice its complement.
The Error Budget: Why the Checks Exist
It is worth pricing the workflow's accuracy honestly, because the numbers explain the rituals. A bearing taken carefully from a map is good to about 2 degrees; a compass walked carefully adds about 2 more; declination taken from an aging map can add 1 or 2 of its own. Call it 5 degrees of total error on a mediocre day. Over a 1 km leg, 5 degrees is about 87 meters of sideways drift: visible country, a short search, no story. Over a 5 km blind leg it is about 437 meters: a different valley, a real problem. Every practice in this guide is that arithmetic wearing clothes: short legs, intermediate landmarks, handrails and catching features, back bearing checks, and relocation before hope compounds. The electronics generation sometimes mocks the ritual until a battery dies in rain at dusk, after which the ritual looks like what it is, an error budget managed by technique. Learn the numbers, and the technique stops being tradition and becomes engineering.
Related Guides
Readers working through this topic usually need its closest companions too. These travel and outdoors map skills guides cover the neighboring ground:
- How to Read a Compass for Kids: The Belly-Button Method and Red Fred in the Shed: Teaching a child to read a compass works when the whole skill is shrunk to two rules a seven-year-old can hold: hold the compass flat at your...
- How to Read a Compass Rose: Two Rings, One Variation, and Bearings in Three Figures: The compass rose printed on a nautical chart is not decoration; it is the chart's built-in angle instrument, and it carries two rings for a...
- How to Use a Compass Without a Map: Bearings, Back Bearings, and Dead Reckoning: A compass without a map cannot tell you where you are, but it can do the two jobs that matter off trail: hold a direction across featureless...
- Triangulation With a Map and Compass: Resection and Intersection, Step by Step: Triangulation with a map and compass answers two questions: where am I (resection, bearings to known landmarks plotted backwards from them), and...
Frequently Asked Questions
What is the correct order for using a map and compass together?
Orient the map first, then take the bearing from the map, correct it for declination, transfer it to the land by turning until the needle sits in the orienting arrow, and follow it landmark to landmark, checking with back bearings and terrain as you go. The order matters: each step consumes the previous step's accuracy.
Why do I have to correct for declination?
Because maps are drawn to grid or true north and compasses point to magnetic north, and the difference, the declination, varies by place. Ignoring a 12 degree declination walks you 12 degrees off line, which over 5 km is more than a kilometer of sideways error. Adjustable compasses can be set once per region; otherwise subtract easterly declination and add westerly when converting a map bearing to a compass bearing.
How accurate is compass navigation in practice?
With landmark to landmark technique and regular checks, a practiced navigator holds within a few degrees of the intended line, which over typical legs of 1 to 3 km means arriving within sight or a short search of the target. Accuracy collapses when bearings are walked blind over long distances without intermediate checks; the technique, not the instrument, is the limit.
What do I do if the terrain stops matching my map?
Stop and relocate rather than pushing on. Take compass bearings on two landmarks you can identify on the map, plot both lines, and your position is at their crossing. Confirm with the contour pattern and elevation trend around you. This resection is a standard part of the workflow, not an admission of failure.
Can I learn this without a course?
Yes, with deliberate practice in forgiving terrain: a large park or local woodland where roads bound your errors. Work the full sequence on short legs, then verify against a phone GPS after each leg, not during. The self test in do you know how to read a map shows which sub skills to drill first.
Photo credits: Aliaksei Lepik (Pexels); Tima Miroshnichenko (Pexels). Photos are served from this site; follow the credit to the library page for the original.