Two hikers use compass bearings to locate things, and they are doing opposite jobs. One is lost and plots bearings to landmarks she can identify, to discover where she stands: that is resection. The other knows exactly where he stands, twice, and plots bearings toward a distant smoke column to discover where it is: that is intersection. Search results call both triangulation, and so does this guide's title, because that is the word the question uses; inside, the two methods are kept separate, because mixing them produces the classic beginner's plot: bearings drawn the wrong way from the wrong points. A note on vocabulary before the method: surveyors use triangulation for a network of measured triangles, and GPS uses trilateration, distances rather than angles, so the word on this page means the navigator's field method: fixing positions with bearings from a map and compass. The foundations it stands on, taking a bearing and orienting a map, are taught in how to read a map and compass; this page is the technique those skills exist to serve.
Home / Map Skills for Travel and Outdoors
Triangulation With a Map and Compass: Resection and Intersection, Step by Step

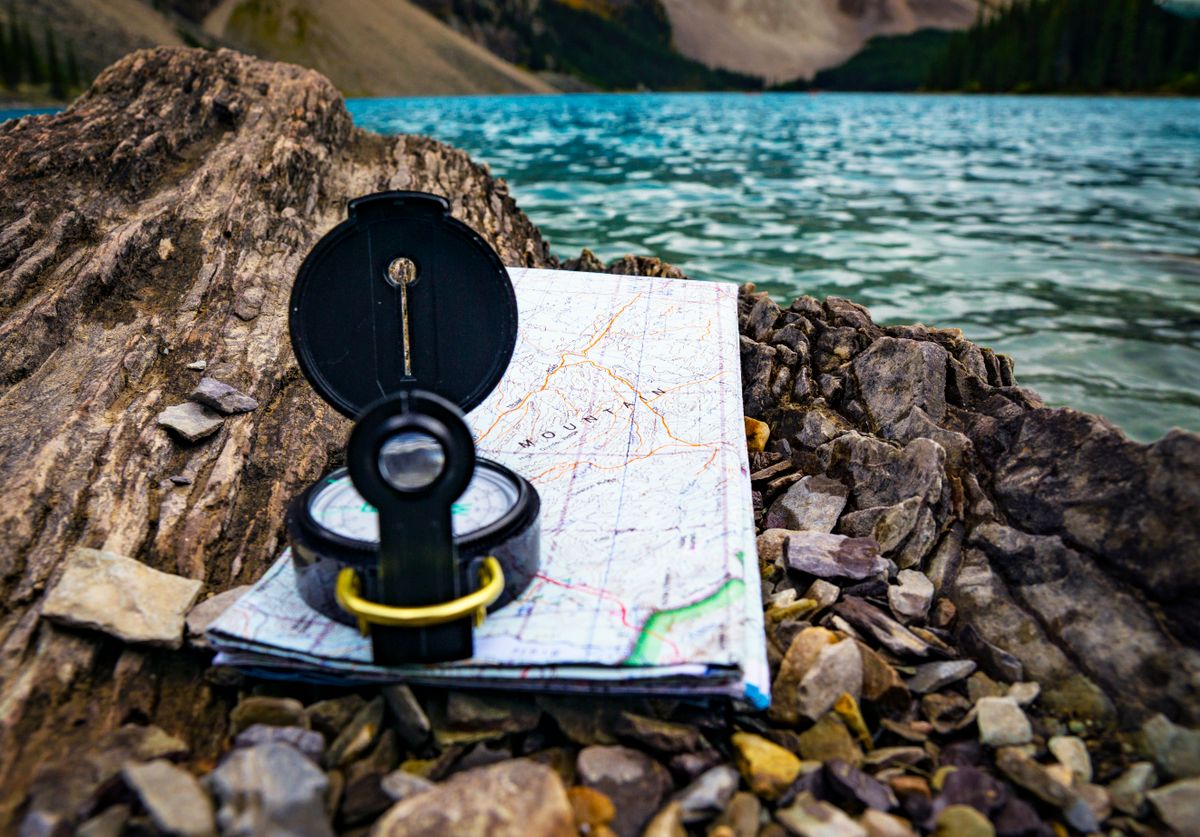
Photo: Abdul basit / Pexels
Distance Measurer: Read the Bearing of a Leg
Click your position, then a landmark. The bearing shown is the kind of reading resection and intersection are built from; in the field you would plot its back bearing from the landmark, exactly as this article works through.
Total straight-line distance, 0 points
Click the map to start
Distances are great-circle (haversine, mean Earth radius 6,371 km): the shortest path over the surface, not a road or trail distance. Map data © OpenStreetMap contributors.
The Two Tools You Already Own: Bearing and Back Bearing
Everything here is built from one measurement and one piece of arithmetic. The measurement is a bearing: point the compass's direction of travel arrow at the landmark, turn the housing until the orienting arrow cradles the needle, and read the degrees at the index line. The arithmetic is the back bearing, the direction from the landmark back to you, which is what you actually plot in resection. The rule: if the bearing is less than 180 degrees, add 180; if it is 180 or more, subtract 180. A bearing of 70 degrees to a summit means you stand on the 250 degree line from that summit (70 + 180). A bearing of 310 degrees to a tower means the back bearing is 130 degrees (310 minus 180). Do the arithmetic twice, out loud; a back bearing error mirrors your whole plot across the landmark, and it is the most common way this method fails. Declination belongs in the same breath: if your compass is not set for local declination, bearings taken in the field (magnetic) and bearings plotted on the map (grid or true) differ by that angle, and the fix is to apply your area's correction consistently to every bearing, as how to use a compass teaches. One correction, applied always, or a compass adjusted once: either is fine, mixing them is not.
Resection: Finding Yourself From Known Landmarks
Work the method in order. One: stop somewhere with a view and identify two, ideally three, landmarks that you can also find on the map: a summit, a tower, a distinctive bend or building. Identification is the step that decides everything; a bearing to the wrong hill is worse than no bearing. Two: take a careful bearing to the first landmark and write it down with the landmark's name. Three: convert it to the back bearing. Four: on the map, place your compass or protractor on that landmark, orient the back bearing direction, and draw a line from the landmark along the back bearing: you stand somewhere on this line. Five: repeat for the second landmark. You stand where the lines cross. With two landmarks the crossing is a point and the method is complete, but you have no error check, which is why the third landmark matters: its line should pass through the same crossing, and in the real world it almost never does exactly, which brings us to the cocked hat below. Choose landmarks spread in angle: ideally 60 to 120 degrees apart as seen from where you stand. Two landmarks nearly in line with you produce lines that cross at a shallow angle and smear your position along a long thin zone; landmarks at a good spread cross decisively. Our how to read a topographic map guide lists resection as a step inside general map reading; here it is the headline, because for a navigator who is genuinely unsure of position, it is the most valuable plot in the craft.
Intersection: Locating a Distant Object From Known Positions
Intersection reverses the flow: your positions are known, the object's is not. One: from your first known position (a plotted point on the map: a summit, a trail junction you are certain of), take a bearing to the distant object, a fire lookout you are trying to place, a smoke column, a stranded boat. Two: plot that bearing forward from your position on the map, no back bearing arithmetic, the line runs from you toward the object. Three: move to a second known position, far enough away that the angle changes substantially, and repeat: bearing, plot forward. The object sits where the lines cross. The geometry rule mirrors resection's: the fix is strong when the lines cross at a healthy angle, which means choosing your two stations so the object is seen from well separated directions, a baseline long relative to the distance. A third station adds the same error check as resection's third landmark. Intersection is how lookouts historically pinpointed fires before radios and satellites, run from two towers with known positions and a shared map, and it remains the way to log the position of anything you can see but cannot reach: wildlife, a wreck, a new spring, the far shore's landing point.
The Cocked Hat: Your Error, Drawn
Plot three bearings honestly and the three lines almost never meet at one point; they form a small triangle, which navigators call the cocked hat. The hat is not a failure; it is the method showing you its own uncertainty, and your position is inside it, with the center as the best estimate. Read the hat like an instrument. A small hat (a few millimeters on the map) means consistent bearings and a trustworthy fix. A large hat means at least one bearing is wrong or one landmark is misidentified, and the correct response is to re take the bearings and re check the identifications, not to average harder. The most dangerous case is the small hat in the wrong place, produced when a landmark is confidently misidentified: all three lines agree about a position built on a false premise, which is why step one of resection, identification, outranks every measurement that follows. As a rule of thumb, if the hat is large, distrust the bearing whose line forms its longest side last and re measure the others first; and never shrink a hat by quietly adjusting a line to fit, because a hand shrunk hat is a lie with a pencil. Honest hats make honest navigators.
Accuracy Habits and Failure Modes
Four habits separate reliable fixes from hopeful ones. Hold the compass level and away from metal: a tilted compass drags the needle, and your belt buckle, the car, and the phone in your chest pocket all bend bearings; the interference distances in why is my phone compass wrong apply to needle compasses with equal force. Sight carefully: use the compass's sighting notch or mirror, center the landmark, and let the needle settle fully before reading; a degree or two of sloppiness is normal and the cocked hat absorbs it, five degrees is carelessness and it will not. Write bearings down with names, never from memory, and plot in the field while the landmarks are still in view for re checking. Cross check with terrain: your plotted position should make sense against the map's contours (you cannot be on a ridge if you are standing in a streambed), and a fix that contradicts the ground under your boots loses to the ground. When resection and the terrain agree, you are found; proceed. The deeper military treatment of the same methods, in mils and at 1:50,000, lives in how to read army maps and land navigation for readers who want the professional dialect.
Related Guides
This guide does not stand alone. The travel and outdoors map skills guides below take up the questions it leads into:
- Orienting a Map and Compass: The Four Moves, Declination First, and the Three Norths: Orienting a map means turning the sheet until the map's north matches the land's north, so that what is on your left on paper is on your left in...
- Best Free Hiking Map App: A Free-Tier Audit of the Big Names: Free" is the slipperiest word in hiking apps: the two most famous names paywall the one feature a hiker cannot live without, offline maps, while...
- Best Hiking Map App for Norway: UT.no, Marked Routes, and Cabins: Norwegian hiking runs on a volunteer institution: the Norwegian Trekking Association, DNT, which marks the routes, staffs the cabins, and...
Frequently Asked Questions
What is the difference between resection and intersection?
Resection finds your own position: you take bearings to known landmarks and plot back bearings from them; where the lines cross is where you stand. Intersection finds a distant object's position: from two known positions you plot bearings forward toward the object; where those lines cross is where it is.
How do I calculate a back bearing?
If the bearing is less than 180 degrees, add 180. If it is 180 or more, subtract 180. A bearing of 70 degrees has a back bearing of 250 degrees; a bearing of 310 degrees has a back bearing of 130 degrees. Resection plots back bearings from the landmarks; intersection plots bearings forward from your stations.
What is a cocked hat in navigation?
When three plotted bearing lines fail to meet at a single point, they form a small triangle called a cocked hat. Your true position lies inside it. A small hat means a trustworthy fix; a large hat means a bad bearing or a misidentified landmark, and the bearings should be re taken rather than averaged.
How many landmarks do I need for resection?
Two landmarks give a fix where their back bearing lines cross. Three are strongly recommended, because the third line checks the other two and forms the cocked hat that reveals your error. Choose landmarks spread 60 to 120 degrees apart for a strong crossing angle.
Does GPS use triangulation?
No. GPS uses trilateration: it computes position from distances to satellites, derived from signal travel times, not from angles. Compass triangulation fixes position from bearings, which are angles. The two methods share only the goal, and the habit of needing several references for a trustworthy fix.
Photo credits: Abdul basit (Pexels); Joshua Woroniecki (Pexels). Photos are served from this site; follow the credit to the library page for the original.