Of all the things a compass can do for a map, orienting it is the most fundamental and the least taught as its own skill. An oriented map is one where the paper and the world agree: features on the map sit in the same directions as the features around you, and every judgment you make, which trail, which ridge, which fork, starts from true correspondence instead of mental rotation. Our general guide to how to read a map includes orienting as one move in a five move routine; this article teaches that single move at full depth, with its preparation, its failure modes, and the three norths that explain why it works. Position fixing by bearings is a different skill, owned by our guide to triangulation with a map and compass; here, the map itself gets turned true.
Home / Map Skills for Travel and Outdoors
Orienting a Map and Compass: The Four Moves, Declination First, and the Three Norths

Photo: Pavel Danilyuk / Pexels
Orient the Map: Four Moves in Order
Check off each step as you finish it. Your progress stays on this page.
0 of 6 complete
0% done
The Three Norths, in Plain Terms
Orienting exists because "north" is three things wearing one name:
- True north is the direction of the geographic North Pole, the direction the map's geographic grid ultimately references.
- Grid north is the direction of the vertical grid lines printed on your map. On most topographic maps it differs from true north by a small angle, because a flat grid cannot perfectly follow a round Earth.
- Magnetic north is where your compass needle points, toward the magnetic pole, which sits offset from the geographic pole and wanders slowly over the years.
Declination is the angle between magnetic north and the map's north where you stand, printed in the map's margin diagram, and it varies from negligible to more than 20 degrees depending on where on Earth you are. Ignore it in a low declination area and little happens. Ignore it where it runs large and every bearing and orientation you take is off by that angle, systematically, all day. The margin of your map is the authority; read the declination there, note whether it is east or west, and note the year, because the value drifts.
Move Zero: Set the Declination
On a compass with an adjustable declination screw or scale, set the printed value once for the trip and the compass thereafter speaks map north natively. On a compass without adjustment, you apply the correction arithmetically whenever a bearing crosses between map and compass: the field rule is that going from map to compass you subtract an east declination and add a west declination (and reverse it coming back). For the orienting routine below, a declination adjusted compass makes the moves exact; an unadjusted compass still orients the map well enough for terrain reading in most areas, because orientation forgives a few degrees in a way that a five mile bearing does not. Know which situation you are in.
The Four Moves
- Lay the compass on the map with its long edge, the baseplate edge, aligned along a north south grid line of the map, and the direction of travel arrow pointing toward the top of the sheet, the map's north. The compass now agrees with the paper completely; both are wrong together relative to the world, which is what the next moves fix.
- Turn your body, the map, and the compass as one rigid unit. Hold them together so nothing slides. You are rotating the paper world until it matches the real one.
- Rotate until the magnetic needle settles inside the orienting arrow, the printed arrow outline in the compass housing: the famous "red in the shed." When the needle sits in the shed, the compass's north is the world's magnetic north (or map north, if declination is set), and because the compass edge lies along the map's grid line, the map has come with it.
- Confirm against the terrain. Pick two visible features, a peak, a lake, a road bend, and check they lie from you in the directions the now oriented map claims. This confirmation is not a courtesy step; it is the step that catches the one catastrophic error, below.
The 180 Degree Error, and Why Confirmation Exists
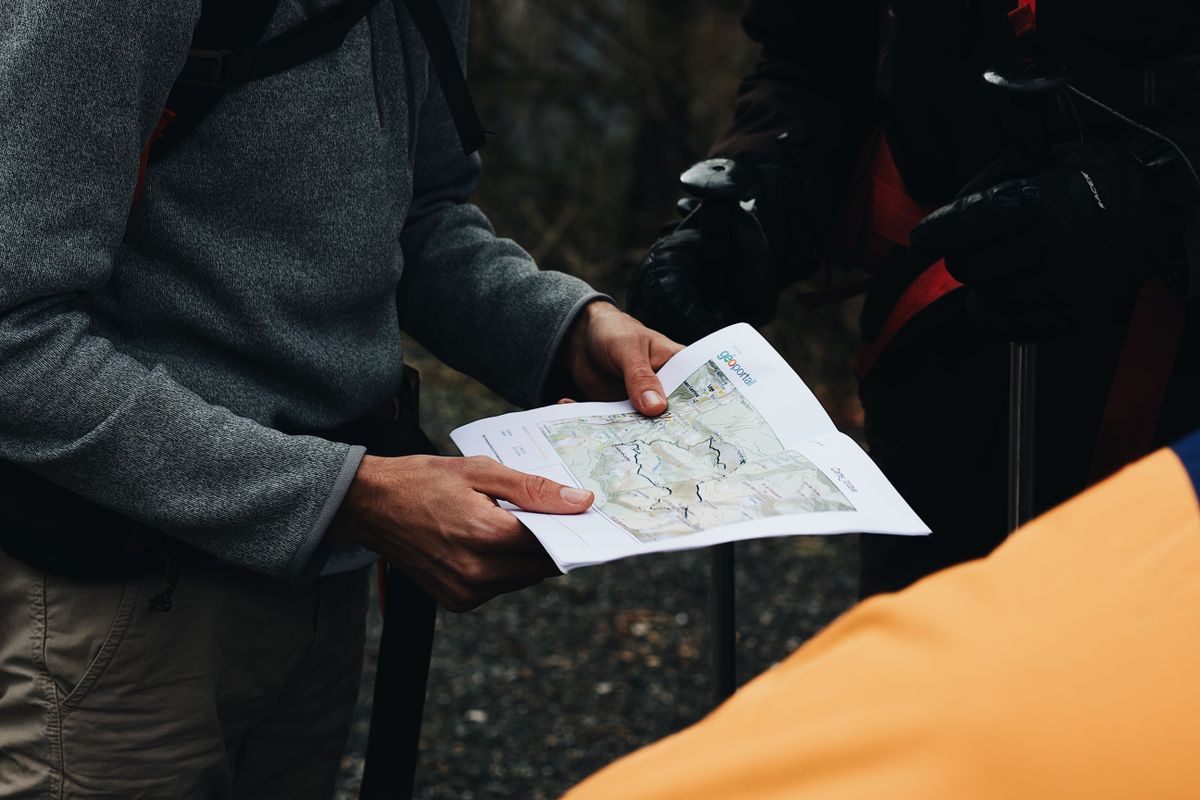
The classic failure: the needle is in the shed, everything looks right, and the map is exactly upside down. It happens when the compass is laid with the direction of travel arrow pointing to the bottom of the sheet, or when the white end of the needle is mistaken for the red (north) end in poor light. An upside down oriented map is worse than an unoriented one because it feels authoritative: left and right swap, and the trail you choose descends the wrong side of the ridge with total confidence. Terrain confirmation is the specific antidote. The peak the map puts on your left must be on your left in the world. When it is not, rotate the whole assembly 180 degrees and check again. Two features are better than one, because a single feature can coincidentally agree. This ten second check, performed every time, converts orienting from a ritual into a measurement.
Keeping the Map Oriented as You Move
Orientation is not a ceremony performed once at the trailhead. Every time you stop and consult the map, reorient it, because a map consulted at a random angle invites the mental rotation errors the skill exists to prevent. Field habits that help: keep the map in a case or on a board so it turns as a unit; thumb your position as you move so the oriented map also knows where on itself you are; and after any bearing work, return the compass to the grid line and re settle the needle before reading the map again. In a group, orient before you discuss: half of all trailhead arguments are two people reading the same map at two different rotations, each certain, both describing the same ground in incompatible directions. The oriented map ends the argument by making the ground itself the referee, which is the entire point of the skill. For reading the dial itself, parts, bearings, and the rest of compass literacy, our guide to how to read a compass is the companion to this one.
When the Terrain Will Not Confirm
Confirmation step four assumes visible features, and the world does not always provide them: fog, dense forest, darkness, and genuinely featureless ground all refuse to referee. The skill adapts rather than dies. In forest, use linear features instead of landmarks: the trail or stream you are standing on is a line on the map, and an oriented map must lay that line in the direction you are actually facing along it, which can be checked with the compass alone. At night, orient by the needle with doubled care about the 180 degree error, work by headlamp with the red end verified, and confirm against any linear feature the light can find. In fog or whiteout, orienting still matters and still works, because the needle does not care about visibility; what changes is that confirmation is postponed, and honest navigation in those conditions leans on bearings and distance, the triangulation article's territory, until the world reappears. The principle underneath: orientation is a relationship between paper and the Earth's field, not between paper and the view, and the view is only its most convenient witness.
Two Practice Drills
Orientation becomes reflex through reps, and two drills build it fast. The trailhead drill: at every hike for a month, before taking a step, set declination if needed, lay the compass on a grid line, rotate to red in the shed, and name two features aloud against the map before moving. A month of trailheads makes the four moves a single gesture. The kitchen table drill: spread a local map, orient it with the compass, then check your work against the known world outside the window: the street's direction, the neighbor's roofline, the hill on the horizon. Table reps cost nothing, can be done in any weather, and teach the needle's behavior, including how nearby metal and electronics bend it, better than any paragraph. Both drills train the same insight until it is instinct: an unoriented map is a picture, an oriented map is an instrument, and the difference is four moves and ten seconds.
Screens Rotate Themselves; Paper Teaches You Why
Phone maps have quietly automated this entire article: the map on a screen rotates to match your heading, and the blue dot's cone shows which way you face. That convenience is exactly why the paper skill still matters. The automated version hides the relationship it performs, so when the battery dies, the signal drops, or the screen's rotation is wrong (a miscalibrated phone compass will rotate a map wrongly with total confidence), the user who never learned orientation has no underlying model to fall back on. The paper routine is that model, learned with the hands: north is a direction in the world, the map must be turned to meet it, and the agreement must be checked against the ground. Learn it on paper and the screen's behavior becomes transparent forever; skip it and every map, paper or glowing, stays a picture you hope is aligned.
Related Guides
The closest companions to this guide are the travel and outdoors map skills guides below. Each one picks up a thread this page starts:
- How to Use a Compass Without a Map: Bearings, Back Bearings, and Dead Reckoning: A compass without a map cannot tell you where you are, but it can do the two jobs that matter off trail: hold a direction across featureless...
- How to Read a Compass Rose: Two Rings, One Variation, and Bearings in Three Figures: The compass rose printed on a nautical chart is not decoration; it is the chart's built-in angle instrument, and it carries two rings for a...
- How to Find North Without a Compass in the Southern Hemisphere: Every classic find-north trick was written in the northern hemisphere, and south of the equator they mirror: the sun crosses the northern sky,...
Frequently Asked Questions
What does it mean to orient a map?
It means rotating the map until its north agrees with the land's north, so directions on paper match directions in the world: a feature drawn on your left is physically on your left. With an oriented map you can compare paper and terrain directly, without mentally rotating the sheet, which is where most map reading errors come from.
How do I orient a map with a compass?
Set your declination first if your compass allows it. Lay the compass baseplate edge along a north south grid line with the direction of travel arrow toward the top of the sheet. Holding map and compass together as one unit, rotate your body until the magnetic needle sits inside the orienting arrow, red in the shed. Then confirm with two visible landmarks that the map's directions match the world's.
What is declination and why does it matter for orienting?
Declination is the angle between magnetic north, where the compass points, and the map's north, and it varies by location from near zero to over 20 degrees. Your map's margin prints the local value. A compass with a declination adjustment absorbs it once; without one, you correct arithmetically for bearings (subtract east, add west going from map to compass). For orienting alone, a few degrees matter little; for bearings over distance, they matter a great deal.
How can an oriented map be upside down?
If the compass is placed with its travel arrow toward the bottom of the sheet, or the needle's south end is mistaken for its north end, the needle can sit in the orienting arrow with the map rotated exactly 180 degrees wrong. The defense is terrain confirmation: check two real features against the map after orienting, every time. If the peak is on the wrong side, rotate everything 180 degrees.
What is the difference between grid north, true north, and magnetic north?
True north points to the geographic pole. Grid north follows the printed grid lines on the map, which differ slightly from true north because the grid is flat and the Earth is not. Magnetic north is where the compass needle points, toward the wandering magnetic pole. Declination is the local angle between magnetic north and the map's north reference, and handling it is what lets a magnetic instrument orient a true north map.
Photo credits: Pavel Danilyuk (Pexels); Maël BALLAND (Pexels). Photos are served from this site; follow the credit to the library page for the original.