A map and compass together are a navigation system; a compass alone is something more modest and still genuinely useful: a direction keeper. It cannot name your position, but it can hold a line across a fogged in ridge, a featureless forest, or a desert flat, and it can reverse that line to walk you back to the road you left. Everything in this guide serves those two jobs, outbound and homebound, and the whole system fits in four habits: record the bearing before you need it, steer by marks rather than by the needle, reverse with the back bearing, and keep a distance account so direction never has to guess at arrival. The map based skills have their own home in how to use a compass; this page assumes the map is lost, left behind, or was never the plan, and builds the craft that remains.
Home / Map Skills for Travel and Outdoors
How to Use a Compass Without a Map: Bearings, Back Bearings, and Dead Reckoning
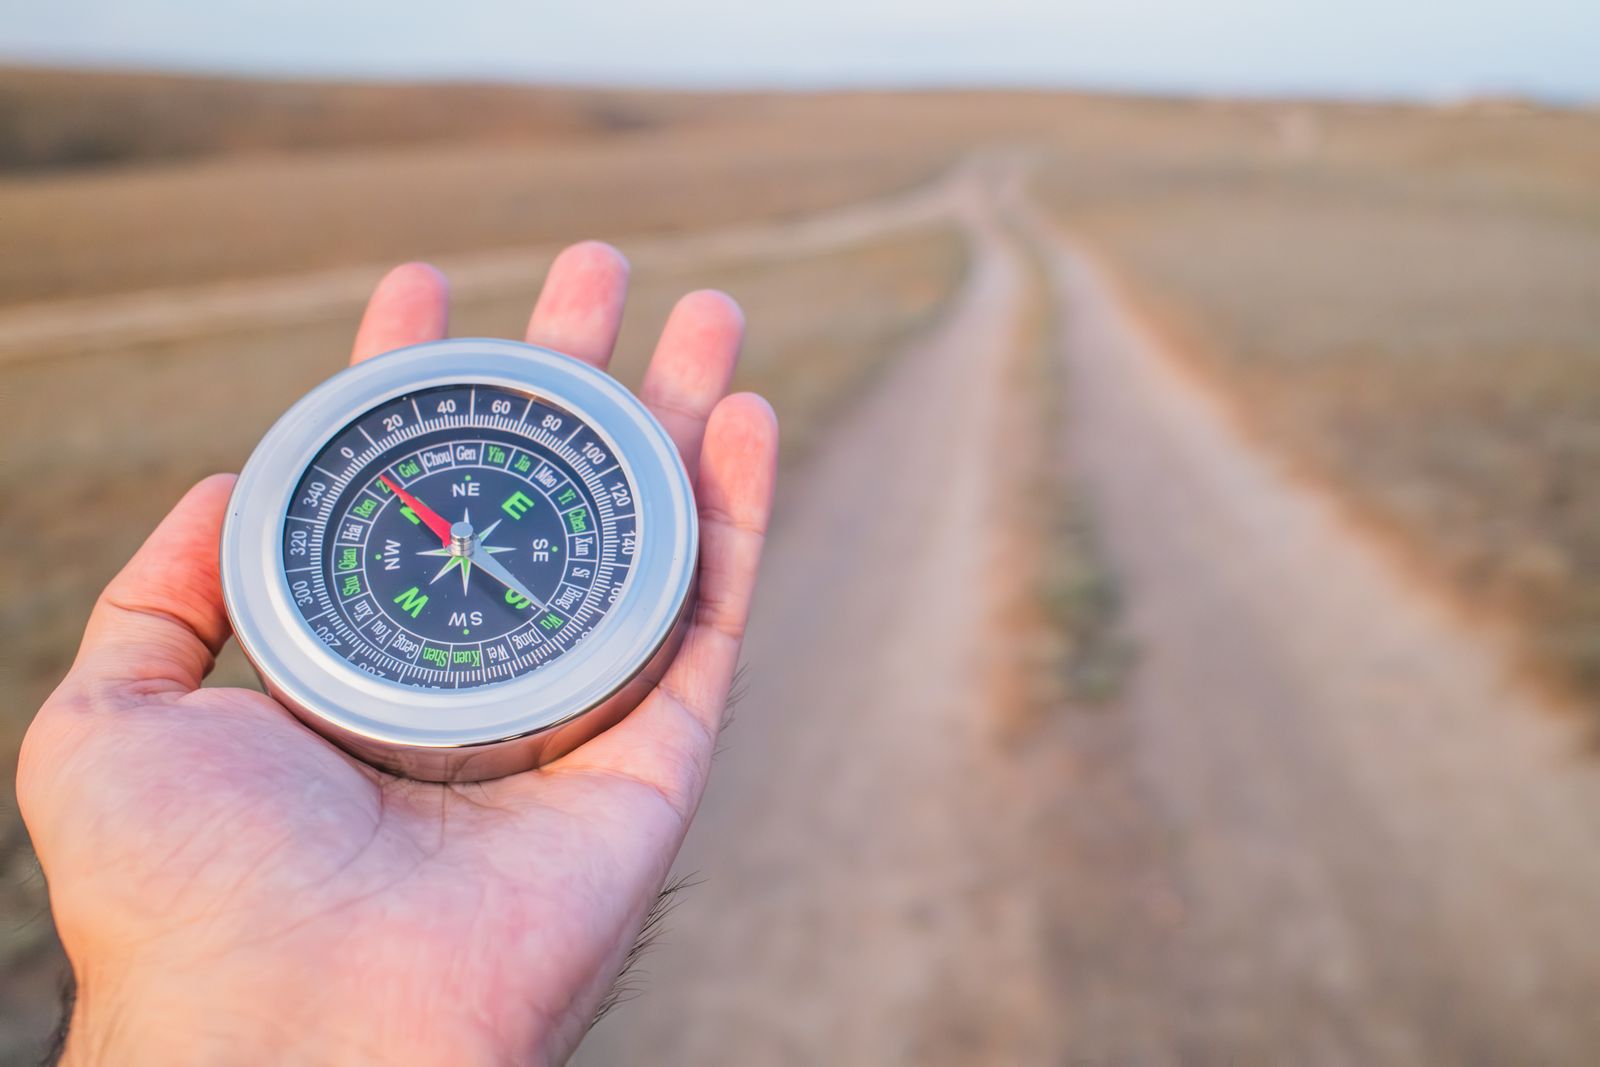
Photo: Steppe Walker / Pexels
Distance Measurer: The Out and Back Line
Click your trailhead and your objective and read the bearing and distance. Outbound bearing, back bearing home, and a distance account to keep: that trio is the whole map free system this article teaches.
Total straight-line distance, 0 points
Click the map to start
Distances are great-circle (haversine, mean Earth radius 6,371 km): the shortest path over the surface, not a road or trail distance. Map data © OpenStreetMap contributors.
Habit One: Take the Bearing Before You Leave
The most valuable compass reading of any trip happens at the trailhead, before the walk starts, and it costs ten seconds. Stand at the car, the road, or the trail sign, face along the feature you will return to (the road itself, the lakeshore, the power line), and take its bearing; then face your direction of travel and take that bearing too, and write both down, on paper, tape on the compass, or a phone note. Why both? Because the return is rarely the exact reverse of the outbound: you may strike the road at an angle and need to know which way along it your car sits, and the road's own bearing tells you. This is the deliberate version of a trick every experienced navigator uses: note the direction of your safety line. A road, river, or fence running roughly east west is a catching feature: wander as you will, a determined walk north or south will hit it, and the only remaining question, left or right along it, is the one the trailhead bearings answer. The compass work is trivial; the discipline of doing it before the forest swallows the view is the entire skill, and it is why the checklist above puts it first.
Habit Two: Walk a Bearing by Steering Marks
Walking a bearing is not walking while staring at a compass; that technique trips over roots and drifts with every glance. The field method is steering marks. Set the bearing on the compass (turn the housing until your chosen degrees sit at the index line, then turn your body until the needle sits in the orienting arrow, the classic red in the shed). Now look up along the direction of travel arrow and pick a distinctive object on that exact line as far ahead as visibility allows: a lone tree, a rock, a gap in the canopy. Walk to it with the compass in your pocket. At the mark, repeat: sight the next mark on the same bearing and walk to that. In open country the marks can be hundreds of meters apart and the walking is fast and accurate; in thick forest they may be twenty meters apart and the method is slow, but it never compounds error the way continuous needle watching does, because each leg is re sighted from a known point on the line. In fog or whiteout, where no mark is visible beyond meters, shorten the legs ruthlessly and consider a partner leapfrog: one person walks out on the bearing to the limit of visibility and is talked onto the line by the stationary partner, then the partner walks up to them. Slow is not the same as lost.
Habit Three: Return on the Back Bearing
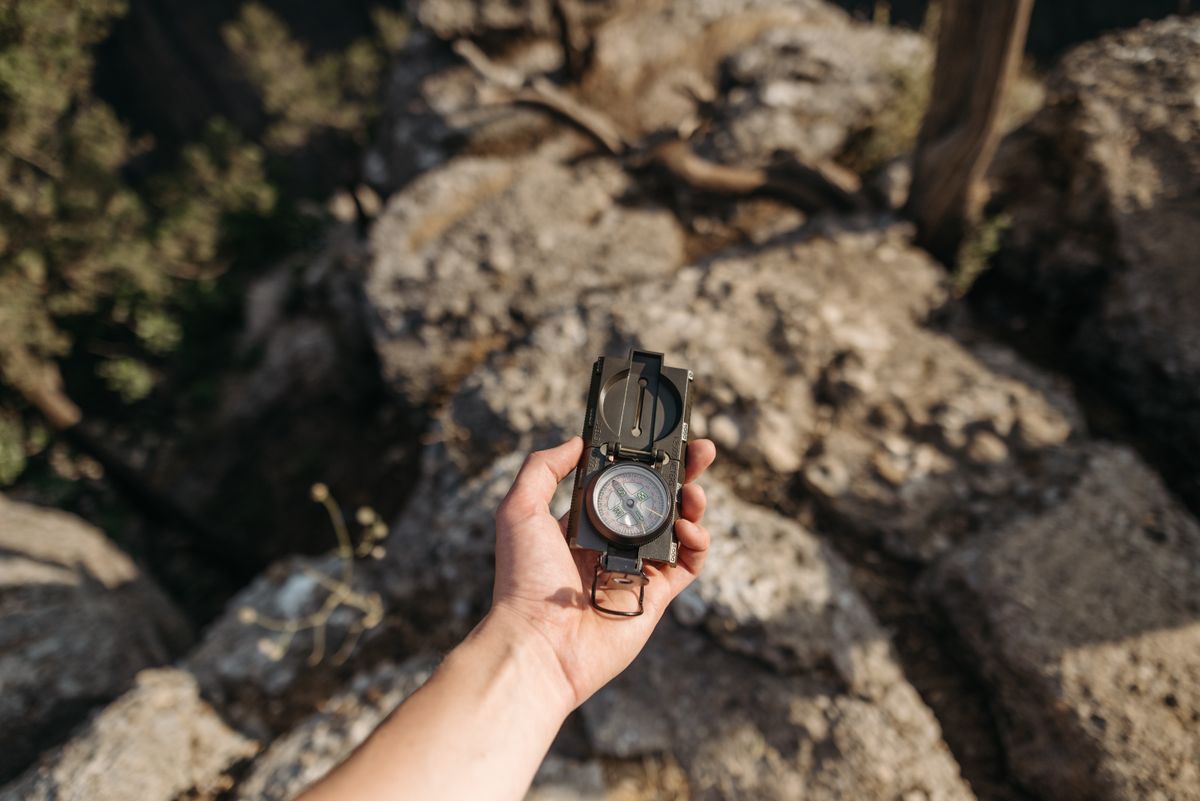
The way home is arithmetic you already own: the back bearing. If you walked out on 60 degrees, you walk back on 60 + 180 = 240 degrees; if your outbound was 300, the return is 300 minus 180 = 120. Set the return bearing at the moment you turn around, while the outbound number is fresh, and walk it with steering marks exactly as you came. Two refinements separate a clean return from a hopeful one. First, aim off deliberately when your target is a point on a line, such as your car on a road: aim to one side of it by a few degrees, so that when you strike the road you know with certainty which way to turn along it. Arriving exactly opposite the car sounds ideal and is actually the worst case, because a small error leaves you not knowing whether it sits left or right; arriving knowingly left of it converts the final leg into a certain walk. Second, expect the return to feel wrong: back bearings retrace ground seen from the other side, landmarks look unfamiliar in reverse, and the compass, not your unease, is the authority you agreed to trust at the trailhead. Every navigator's discipline is tested exactly here, and the ones who pass are the ones who wrote the numbers down.
Habit Four: Keep a Distance Account (Dead Reckoning)
Direction without distance is half a position. Dead reckoning is the practice of tracking how far you have traveled along your bearing so you know when the destination, the junction, the catching feature should appear. Two field methods cover it. Pace counting: calibrate your count on known ground (how many double paces you take per 100 meters; a common figure is around 60 to 70 double paces per 100 meters on flat ground for many adults, but measure your own, because legs differ), then count as you walk, tallying each hundred meters with a pebble moved between pockets, a knot, or ranger beads. Adjust expectations by terrain: uphill, snow, and brush all shorten the pace and inflate the count per distance, which is why calibration on similar ground matters. Timing: at a known walking speed (4 to 5 kilometers per hour on trail, slower off it), elapsed time converts to distance directly, and a watch is the only instrument. Either method turns "we should be close" into "we have covered 1.8 of the 2 kilometers," and that number is what tells you whether the feature that has not appeared is merely late or genuinely missed, two situations with opposite correct responses: press on versus stop and re fix. Dead reckoning is also the skeleton of the no compass emergency methods in how to find north without a compass, should the compass itself ever be lost.
The Obstacle Detour That Returns You to the Line
Sooner or later the line meets a swamp, a cliff, or private land, and the detour must not become a departure. The box detour keeps your account honest. When the obstacle blocks the line, turn 90 degrees to the side with the better going, count paces, and walk past the obstacle's edge. Turn back to your original bearing and walk past the obstacle. Then turn 90 degrees back toward the line and walk the same pace count as the first leg, which returns you to the original line, and resume the bearing. Your distance account adds only the legs walked on the bearing; the sideways legs cancel and are logged as detour, not progress. The method's virtue is that it needs no visibility and no landmarks, only the compass and the count, and its discipline (count the offset legs, match them on return) is the difference between a detour and a drift. Lakes and wide obstacles may demand long offsets; the arithmetic does not care, which is the point of having arithmetic.
Limits, Stated Plainly
A compass without a map holds direction and estimates distance; it does not fix position, warn of cliffs between you and the bearing, or know that the valley bends. Its kingdom is the out and back, the straight crossing, and the disciplined return to a catching feature, and within that kingdom it is completely reliable when the four habits are kept. Step outside it, multi day route finding through complex terrain, and the honest instruments are the map skills in how to read a map and compass and the position fixing of triangulation map and compass. Knowing which kingdom you are in, and not asking a direction keeper to be a positioning system, is the final habit, and the one that keeps the other four worth practicing.
Related Guides
If this page answered part of the question, these travel and outdoors map skills guides cover the rest of the same ground:
- How to Use a Compass Bezel on a Watch: The Seiko Method, Both Hemispheres: A compass bezel turns an ordinary analog watch into a sun compass, if you know the setting ritual: point the hour hand at the sun, put the south...
- Phone Compass Not Working: The Dead Compass Ladder, From Missing Sensor to Hardware: A phone compass that shows nothing, freezes, or is missing from the app drawer is a different problem from a compass that points the wrong way.
- Road Trip Planner With Gas Stops: Place Stops by Range, Then Cost Them by the Tank: Planning fuel stops is two jobs, not one: placing the stops on the route, which is a range problem, and costing them, which is a tank and economy...
Frequently Asked Questions
Can you navigate with just a compass and no map?
Yes, within limits: you can hold a direction across open or featureless ground, walk to a catching feature like a road or river, and return to your start on the back bearing. What you cannot do is fix your position or plan routes around terrain you cannot see, which is what the map provides.
What is a back bearing and how do I use it to get back?
The back bearing is the reverse of your outbound bearing: add 180 degrees if the bearing is under 180, subtract 180 if it is over. Walked out on 60 degrees, you return on 240. Set it the moment you turn around, and walk it with steering marks just as you came.
How do I walk a straight line with a compass?
Set the bearing, then sight a distinctive object exactly on your line of travel as far ahead as you can see, a steering mark, and walk to it with the compass put away. From the mark, sight the next one on the same bearing. Short legs in thick cover, long legs in the open; never walk staring at the needle.
What is pace counting and how do I calibrate it?
Pace counting tracks distance by counting double paces. Calibrate on a measured 100 meters: many adults take roughly 60 to 70 double paces per 100 meters on flat ground, but your own number depends on your legs and the terrain. Count hundreds as you walk and tally them with pebbles, knots, or beads.
What is a catching feature?
A large linear feature, a road, river, shoreline, or fence line, that you cannot miss if you walk toward it. Navigators note its bearing at the trailhead so that whatever happens off trail, a deliberate walk reaches it, and the only remaining question, which way along it, is already answered.
Photo credits: Steppe Walker (Pexels); Pavel Danilyuk (Pexels). Photos are served from this site; follow the credit to the library page for the original.