Hand a topographic map reader an orienteering map and they will misread it within a minute, confidently. The colors look familiar and mean different things: the forest is white, the fields are yellow, green is bad news, and someone has drawn purple geometry over everything. Orienteering maps follow the International Specification for Orienteering Maps (ISOM), a standard tuned for one purpose: making navigation decisions at running speed. This guide decodes the system completely, from the color logic to the control description sheet, and ends with the reading techniques that turn the map from a picture into a plan. If ordinary topographic maps are your starting point, our general guide to how to read a map covers that language first; this article is the dialect.
Home / Map Skills for Travel and Outdoors
How to Read a Map for Orienteering: ISOM Colors, Symbols, and Control Descriptions
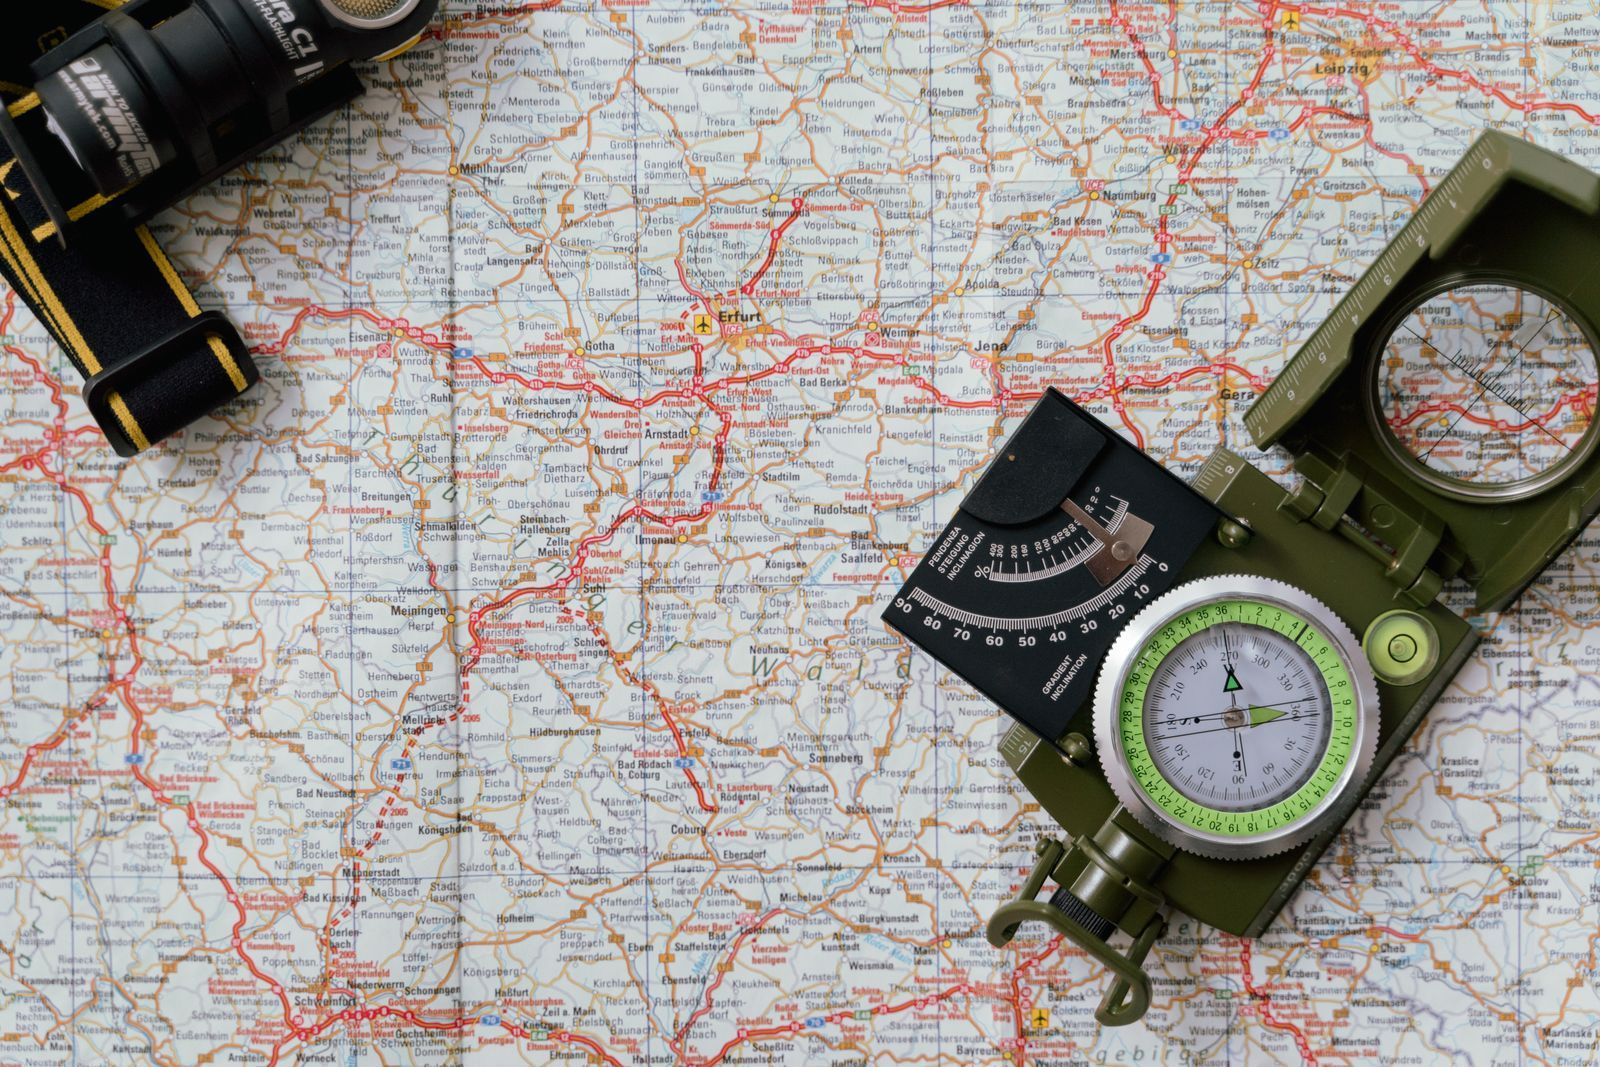
Photo: Tima Miroshnichenko / Pexels
Read the Orienteering Map: Colors and Controls
Check off each step as you finish it. Your progress stays on this page.
0 of 7 complete
0% done
The Color System: Read Vegetation as Speed
ISOM colors encode what the terrain does to a runner, and once you see the logic, the map reads like a speed chart:
- White: runnable forest. The signature surprise. White is not empty land; it is forest you can run through at full speed, drawn white so the symbols on top stay legible. Most of a forest orienteering map is white.
- Greens: the slower the going, the darker the green. Light green is forest that slows you down; mid green is a walk; dark green is a fight, effectively impassable, the map's way of saying go around. Green is a cost, priced in minutes.
- Yellow: open land. Fields, meadows, and clearings, with paler yellow for rough open land that runs slower. Yellow is fast and visible from far away, which makes open areas prime navigation landmarks.
- Brown: landforms. Contours, knolls, depressions, pits, and earth banks. Brown tells you the shape of the ground, as it does on a topo map.
- Blue: water. Streams, marshes, lakes, wells. Marsh blues carry a warning: uncrossable marsh symbols mean the water feature is a barrier, not a shortcut.
- Black: rock and human features. Cliffs, boulders, paths, tracks, roads, fences, buildings. A cliff's black teeth point downhill, and an uncrossable cliff is a hard stop, not a scramble.
- Purple (magenta): the course. Everything printed in purple is the event layer laid over the terrain: start, controls, finish, and any out-of-bounds or dangerous-area markings. Purple is instructions, not geography.
The Course Overprint: Triangle, Circles, Double Circle
The purple layer has a grammar of three shapes. The start is a triangle, and the triangle points in the direction of the first control, a courtesy runners use in the first chaotic seconds. Each control is a circle, and the feature you are looking for sits at the exact center of the circle, not somewhere inside it; the circle is a magnifier, not a zone. Controls are connected by straight purple lines in visiting order (the lines are not suggested routes; they are just the sequence, and the ground between two controls is your problem to solve). The finish is a double circle. Numbers beside the circles give the visiting order, and each control also has a code (the number on the physical flag at the site), which you check on arrival to prove you found the right one; punching the wrong flag on the same feature type nearby is a classic beginner disqualification.
The Control Description Sheet: A Second Language in Pictures
Clipped to the map (and often printed on it) is the control description sheet, a grid of pictorial symbols standardized by the International Orienteering Federation, in its current form since the 2018 specification. It exists so that a control can be specified exactly, in any language, in eight columns:
| Column | Meaning |
|---|---|
| A | Control number (visiting order) |
| B | Control code (the number on the flag) |
| C | Which of any similar features (for example, the northern of two pits) |
| D | The control feature itself (the main symbol: knoll, boulder, stream junction) |
| E | Appearance or further specification (overgrown, shallow, ruined) |
| F | Dimensions or combinations (the boulder's height, or two features crossing) |
| G | Location of the flag on the feature (north side, foot, top, beneath) |
| H | Other information (first aid, refreshments, a manned control) |
Column G is the one beginners under-read: the flag is rarely on the center of the feature in the way you imagine; it hangs on a specified side or edge, and the sheet tells you which. Learn the few dozen common pictograms (they are genuinely pictorial: a wavy line is water, a triangle is a knoll) and the sheet becomes a precision instrument: "the 2.5 meter boulder, north side" ends all argument about which rock and where on it.
Scale, Contours, and North on an Orienteering Map
Three technical facts complete the reading. Scale is large: typically 1:10,000 or 1:15,000 for forest events and around 1:4,000 for sprint events in urban areas, so the map shows features a topo map would never print (a half-meter boulder can earn a symbol). Contour interval is usually 5 meters (2.5 on sprint maps), and form lines (lighter, sometimes dashed contours) add shape between the main lines; reading brown fluently (spurs, re-entrants, saddles) is the core terrain skill, because landform is the one thing that never changes between map editions. North on an orienteering map is magnetic north: the map's north lines are drawn for the compass you carry, so you do not apply declination corrections the way topo work requires. Set the map with the compass, and the map's up is the ground's north, full stop.
How Orienteers Actually Read: Four Techniques
- Handrails. Navigate along a linear feature (a path, stream, fence, or contour line) that leads toward the control, rather than striking across country on a bearing. Handrails trade a little distance for a lot of certainty.
- Attack points. Choose a large, unmissable feature near the control (a path junction, a clearing corner), navigate to it confidently, then slow down and make the short, precise final approach from it. Most controls are found from an attack point, not from the last control.
- Catching features. Before you start a leg, name the feature beyond the control that will catch you if you overshoot (the road behind the knoll, the stream past the pit). A catching feature converts "lost" into "turn around at the road."
- Thumbing and folding. Fold the map small around the current leg, keep your thumb on your position, and move the thumb as you move. It sounds trivial and it is the habit that keeps elite orienteers located: the map is never a poster, it is a cursor.
Together these techniques explain the map's design: ISOM shows runnability, handrail features, and precise control features at large scale because the techniques consume exactly those things. The map is not a picture of the forest. It is the interface to a method.
The Symbols Worth Memorizing First
ISOM has hundreds of symbols, but a first-timer needs about fifteen to be functional. Paths grade by line weight and dash: a wide solid line is a vehicle track, dashes shrink through footpaths to a faint small path that may be a thread on the ground. A black line with cross-ticks is an uncrossable fence or wall, while a plain thin line can be crossed. Brown dots are knolls and brown inverted Vs and pits mark small depressions; a brown line with teeth is an earth bank. Blue lines with teeth or dots distinguish marshes you can cross from those you cannot. A black dot is a boulder, a black triangle cluster is stony ground, and black hatching on a slope means cliffs, with the teeth showing the drop direction. Green vertical stripes over white or yellow mean undergrowth that slows without hiding. A magenta cross-hatch or boundary means out of bounds, full stop, whatever the terrain looks like. Learn those and the map stops being a code and starts being a description, which is the entire goal of the specification: a runner at speed should perceive, not decode.
A First Leg, Read Properly
Put the whole system to work on one imaginary leg, control 3 to control 4. The sheet says control 4, code 57, is a boulder, 2.5 meters, north side. On the map, circle 4 centers on a black dot beside a re-entrant, north of a yellow clearing. Your plan assembles itself from the colors: leave 3 on the path (handrail) to the junction (attack point), cross the yellow clearing (fast, visible), enter the white forest (runnable) at the clearing's north corner, contour along the re-entrant (brown handrail) until the boulder appears on your left, and check its north side for flag 57. Behind the boulder, the slope falls to a stream (catching feature): if you reach water, you have overshot, turn back uphill. Every element of that plan is a color or a symbol doing its job: yellow for speed, white for entry, brown for the handrail, black for the target, magenta for the order, and the description sheet for the final two meters. That is reading an orienteering map. The running, famously, is the easy part to describe and the hard part to do, but nobody at the start line is worried about your fitness. They are worried about whether you read the sheet.
Related Guides
This guide does not stand alone. The travel and outdoors map skills guides below take up the questions it leads into:
- Hiking Maps of Washington State: The WTA Hike Finder, Green Trails Sheets, and Three National Parks: Washington holds three national parks, a wall of national forests, and the best volunteer trail organization in America, and its maps reflect all...
- Phone Compass Not Working: The Dead Compass Ladder, From Missing Sensor to Hardware: A phone compass that shows nothing, freezes, or is missing from the app drawer is a different problem from a compass that points the wrong way.
- Road Trip Planner Apps: Roadtrippers, Furkot, Wanderlog, and the Right Tool for Discovery vs Logistics: Road trip planner apps split into two species that roundups constantly confuse: discovery tools that find interesting stops along your route, and...
Frequently Asked Questions
What does white mean on an orienteering map?
Forest that is runnable at full speed. White is the base color for normal forest under ISOM, which surprises topographic map readers who expect green. On an orienteering map, green means the opposite: vegetation that slows you down, darker as it gets worse.
What is the purple on an orienteering map?
The course overprint: the start triangle, the numbered control circles in visiting order, the finish double circle, and any special markings like out-of-bounds areas. Purple is event information drawn over the terrain, not part of the landscape.
How do I know exactly where the control flag is?
The flag sits at the center of the purple control circle, on the feature described in the control description sheet. Column G of the sheet specifies the flag's placement on that feature, such as its north side or its foot.
Do I need to correct for magnetic declination with an orienteering map?
No. Orienteering maps are drawn with north lines aligned to magnetic north for use with a compass, so you set the map directly with the compass needle. This differs from topographic maps, which are aligned to true or grid north.
What scale are orienteering maps?
Usually 1:10,000 or 1:15,000 for forest events and about 1:4,000 for urban sprints, with a contour interval of 5 meters (2.5 meters for sprints). The large scale is why small features like individual boulders appear.
Photo credits: Tima Miroshnichenko (Pexels); cottonbro studio (Pexels). Photos are served from this site; follow the credit to the library page for the original.