Every GIS career includes a first polygon: the boundary you cannot download because nobody has ever drawn it, the study area that exists only in a sentence, the field whose edge lives in a farmer's gesture toward the land. Drawing it well is a craft with a short list of rules and a long tail of regrets for ignoring them, because a careless polygon, gappy, overlapping, self-crossing, poisons every area calculation and overlay it ever touches. This guide teaches the craft in the order it is practiced: the layer prepared correctly, the drawing itself with the digitizing tools, snapping and tracing so new lines honor existing geography, the settings that prevent the classic boundary diseases, and the vertex-level repair that fixes the mistakes everyone makes. It assumes the single-point skills of our add a point by coordinates guide and looks toward the analysis that polygons exist to feed, like select by location. By the end, the ring you close will deserve the number its area reports.
Home / GIS and Open Map Data for Beginners
How to Draw a Polygon in QGIS: Digitizing a Boundary That Closes Cleanly
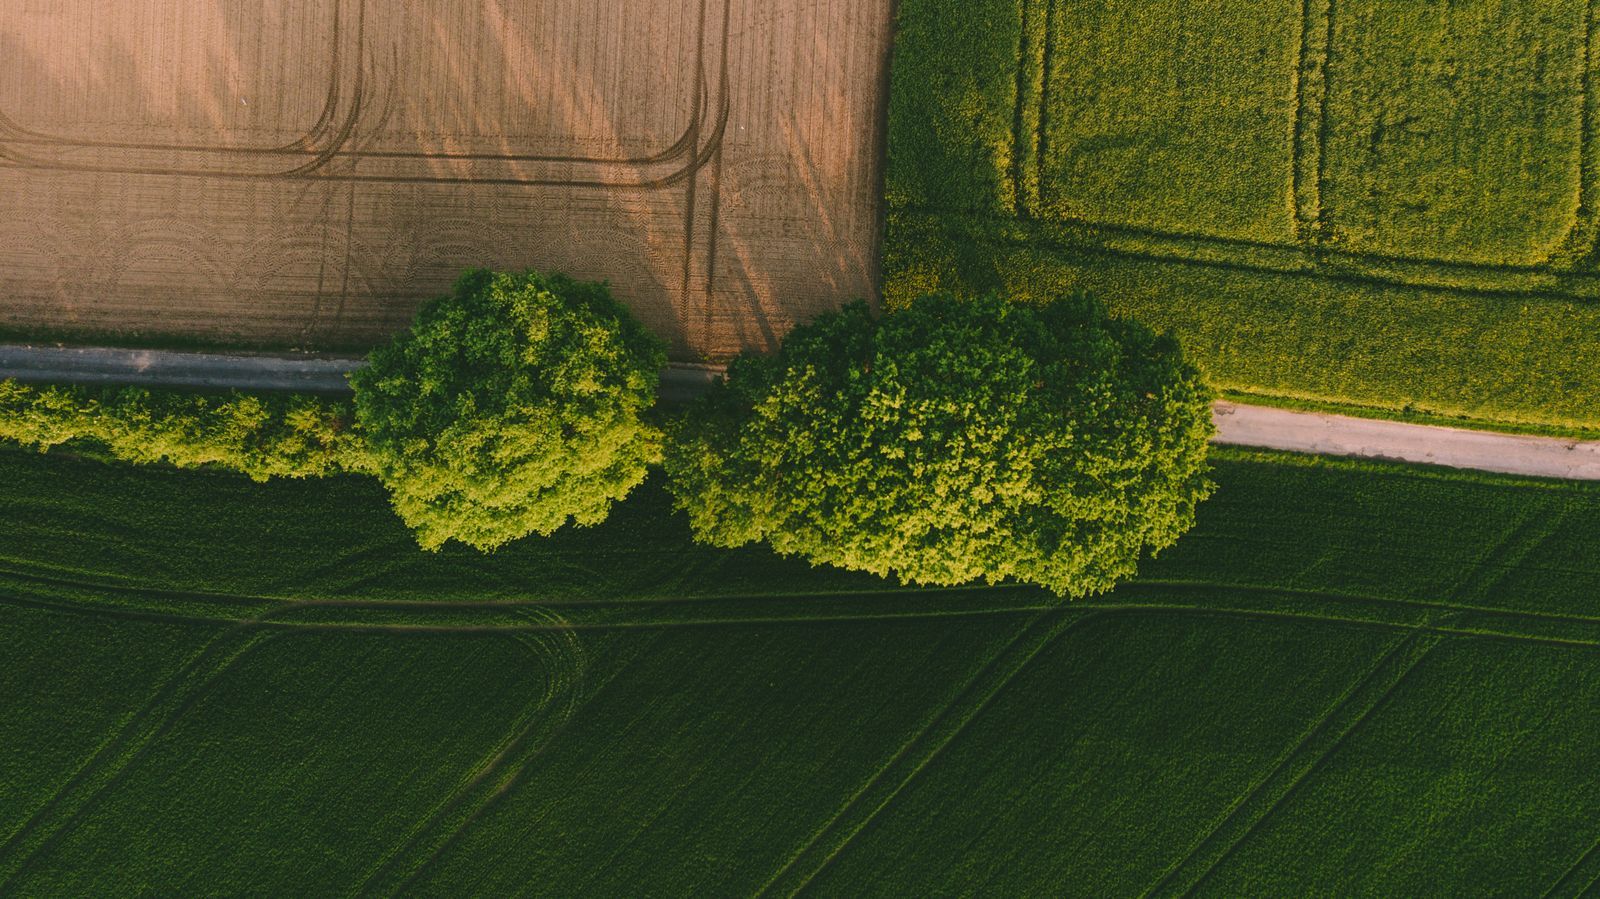
Photo: James Owen / Pexels
Close the Ring Cleanly: The Draw Polygon Checklist
Check off each step as you finish it. Your progress stays on this page.
0 of 7 complete
0% done
The Layer First: Polygon Geometry in a Projected CRS
A polygon drawn into the wrong layer is wrong before the first click, so begin where every digitizing job begins: Layer, Create Layer, New GeoPackage Layer, geometry type Polygon. The choice that decides the polygon's future is the coordinate reference system, and for polygons it matters more than for points, because a polygon's whole purpose usually includes its area, and area is only honest in a projected CRS whose units are meters or feet on the ground. Draw in a geographic system like EPSG:4326 and the shape will look right while its computed areas come out in square degrees, a unit no report can use. Match the layer to your project's projected system, the UTM zone or national grid your other data uses, and the polygon joins the project's measurement economy honestly. Add the attribute fields the polygon exists to carry, a name, a type, a note, at creation, while you are thinking about what the boundary means; you will be asked for them the moment the ring closes, and answering then, with the land still in mind, beats reconstructing later. Then turn on editing with Toggle Editing, and the canvas is ready.
The Drawing: Vertices Down, Right-Click to Close
Choose the Add Polygon Feature tool, Ctrl+. on the keyboard, and the cursor becomes your surveying instrument. Each left click places a vertex; the boundary grows as a rubber line from vertex to vertex, following your hand. Walk the boundary the way you would walk the land: a vertex at every corner and direction change, enough vertices along a curve to honor its shape, no vertices wasted where the line runs straight. The craft rule is that vertices are decisions, each one a claim about where the boundary turns, and a polygon with a hundred clicks along a straight fence is not more accurate, only heavier. When you return to the start, right-click to finish, and QGIS closes the ring for you, joining the last vertex to the first with the segment you implied. The attribute form opens; fill it now. Then look at what you have made before saving: the ring should read as the boundary you meant, closed, simple, and in the right place. Save the edits, toggle editing off, and the polygon is data. If the shape is wrong in a way a glance reveals, delete and redraw while the boundary is fresh in your mind; repair has its section below, but a young mistake is cheapest in its first minute.
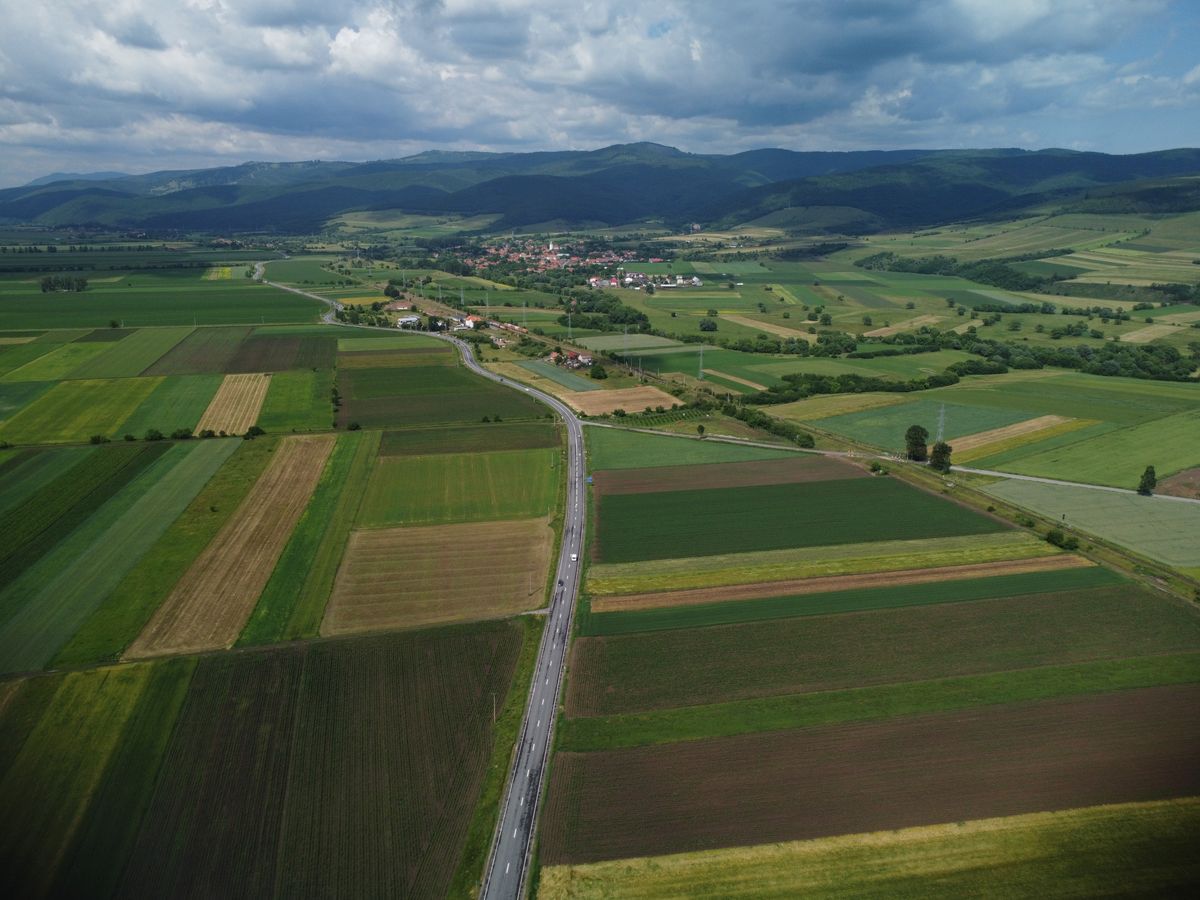
Snapping and Tracing: Boundaries That Respect Boundaries
Freehand vertices float; real boundaries attach. The tool that attaches them is snapping, toggled with the magnet button or the S key, configured in the snapping toolbar: snap to the vertices and segments of chosen layers, within a tolerance you set in pixels or map units. With snapping on, your cursor is pulled to the existing geography as you approach it, so a new field boundary can share its neighbor's corner exactly, and a study area can follow a coastline's surveyed vertices rather than your approximation of them. Set the tolerance thoughtfully: too small and the snap never engages, too large and it grabs features you were merely passing. Tracing, toggled with T, goes further: with tracing enabled, moving the cursor along an existing feature lays vertices along its path automatically, so following a river, a road, or an existing parcel edge becomes a guided gesture rather than a hundred hopeful clicks. Together, snapping and tracing are how a mosaic of polygons stays a mosaic: shared edges drawn once and reused, rather than drawn twice with a hairline of disagreement between them. That hairline has a name, the sliver, and the next section is about the settings that starve it.
Avoid Overlap and Topological Editing: The Cleanliness Settings
Two settings in the snapping configuration separate tidy digitizers from sliver farmers. Avoid Overlap, set per layer, makes a new polygon refuse to cover the existing polygons of its layer: draw across a neighbor and the overlapping part is trimmed away as you finish, so adjacent parcels tile the land without double-claiming any of it. Topological editing makes shared boundaries behave as one: move a vertex that two polygons share, and both polygons follow, so correcting a boundary corrects it for every feature that touches it, instead of opening a gap on one side and an overlap on the other. Enable both whenever you digitize adjacent areas, which is to say almost always. The third cleanliness rule is about the ring itself: a polygon must not cross itself. A bow-tie ring, where the boundary loops through its own edge, is invalid geometry, and QGIS will warn about self-intersection if you let it finish one; the fix is to undo the offending vertices and route the boundary the way the land actually goes. These are not pedantries. Every area figure, every overlay, every select-by-location you ever run on the layer inherits the geometry you save today, and clean geometry is a gift you give every future question.
Repair With the Vertex Tool, Not the Eraser
Mistakes survive every digitizer; the professional skill is repairing them at vertex level. The Vertex Tool selects a polygon's vertices as editable points: drag one to move it, double-click a segment to add a vertex where the boundary needs more resolution, select and delete a vertex that should never have existed. With topological editing on, repairs to shared edges propagate to the neighbors, keeping the mosaic sealed while you work. The repair mindset matters more than the mechanics: fix the vertex, not the polygon. A boundary that bulges wrongly in one reach needs two vertices moved, not a redraw of the whole ring with fresh errors elsewhere. And when a polygon is wrong in its conception, split or merged wrongly, drawn around the wrong field entirely, the honest repair is deletion and a redraw, because geometry carries no memory of your intentions and a patched misunderstanding stays a misunderstanding. After any repair session, run the same visual audit as at creation: the ring closed, simple, snapped where it should be, and its area, checked by the next section, plausible against the land it claims to describe.
Prove It: The Area Sanity Check
A finished polygon should survive one arithmetic question: is its area believable? Compute it with the field calculator's $area function into a field, as our field calculator guide teaches, or read it from the measure tool for a quick glance, and compare it against expectation: the field you paced, the parcel the document described, the study area the brief specified. Agreement within a sensible margin closes the job. A wild disagreement reopens it, and the usual causes line up in a familiar order: the layer is in a geographic CRS and the area came out in degrees, the boundary was drawn around the wrong feature, or a self-intersection is inflating the ring. One alternative deserves a mention for completeness: when the boundary already exists as a shape in a raster, a scanned map, a classified image, the Polygonize tool converts raster regions to polygons wholesale, a different craft for a different source. But for the boundary that exists in the world and in your instructions, hand digitizing with snapping, tracing, and the cleanliness settings on remains the method, because it produces not just a shape but a defensible one, every vertex a decision you can explain.
Curves, Holes, and Shapes With More Than One Part
Real boundaries outgrow the simple ring, and the digitizing craft extends to meet them in three common shapes. A curved boundary, a river bank, a lakeshore, a sweeping access road, is drawn with vertices dense enough that the chords read as the curve at your working scale: zoom in as you draw, because vertex spacing that looks smooth from far away shows its angles the moment anyone zooms, and a shoreline digitized at the wrong zoom is a staircase pretending to be water. A polygon with a hole, the field around a pond, the parcel around an enclave, is drawn as one feature with an inner ring: finish the outer ring, then use the Add Ring tool to cut the hole as its own closed line inside it, and the feature computes its area with the hole honestly excluded. A multi-part polygon, one property in two separated pieces, one island group under one name, is a single feature whose geometry holds several rings apart from each other, built by drawing the first part and then adding the next with the part tools rather than by making two features and confusing every count that follows. Each shape has its trap: curves drawn too coarse, holes drawn as separate overlapping polygons that double-count the ground, parts split into features that fragment the record. The rule that governs all three is the one the whole article teaches: the geometry should have the same structure as the thing in the world, one feature for one real thing, its rings arranged the way the land arranges them.
Related Guides
Readers working through this topic usually need its closest companions too. These GIS and open map data guides cover the neighboring ground:
- QGIS Calculate Area of a Polygon: $area, area($geometry), and the Degrees Trap: QGIS offers two area functions that answer different questions: $area respects your project's ellipsoid and measurement settings and returns real...
- QGIS Clip Raster: Cut Imagery and DEMs to Your Boundary With a Mask Layer: Rasters arrive as rectangles and study areas are never rectangles, so clipping is the first real operation most GIS work performs on imagery and...
- QGIS Elevation Profile: Read the Terrain Along Any Line You Draw: The Elevation Profile panel in QGIS turns a drawn line into a terrain cross-section: distance along the bottom, elevation up the side, with the...
- QGIS Snapping: Enable It, Set the Tolerance, and Make Vertices Meet: make the drawn vertices meet exactly
- QGIS Vertex Tool: Move, Add, and Delete Vertices Without Redrawing: reshape the polygon after drawing it
Frequently Asked Questions
Which CRS should my polygon layer use?
A projected CRS in meters or feet, matched to your project, such as the local UTM zone or national grid. Areas computed in a geographic CRS like EPSG:4326 come out in square degrees and are unusable in reports. The layer's CRS is chosen at creation, so decide before you draw.
How do I finish a polygon once I have clicked the vertices?
Right-click. QGIS closes the ring by joining your last vertex to the first, then opens the attribute form for the new feature. Save the layer edits and toggle editing off to make the polygon permanent and protected.
What does snapping do, and what tolerance should I use?
Snapping pulls your cursor to the vertices and segments of chosen layers within a tolerance, so new boundaries attach exactly to existing ones. Set the tolerance in the snapping toolbar: large enough to engage reliably at your working zoom, small enough not to grab features you are only passing.
My polygons overlap or leave slivers. How do I prevent that?
Enable Avoid Overlap for the layer, so new polygons are trimmed against existing ones, and topological editing, so shared vertices move all their polygons together. Trace along existing edges instead of redrawing them. Together these keep a set of adjacent polygons tiling cleanly.
Can I fix one wrong vertex without redrawing the whole polygon?
Yes. The Vertex Tool edits a polygon vertex by vertex: drag to move, double-click a segment to add, select and delete to remove. With topological editing on, fixes to shared boundaries propagate to the neighboring polygons as well.
Photo credits: James Owen (Pexels); Cristian Verigeanu (Pexels). Photos are served from this site; follow the credit to the library page for the original.