Every QGIS user reaches the same moment. The analysis is done, the map is beautiful, and the audience for it does not have QGIS, will never install QGIS, and is looking at a flat screenshot of a landscape whose whole point is its shape. qgis2threejs exists for that moment. It is a plugin that exports your project, terrain and layers together, as an interactive 3D view that runs in a web browser: orbit it, tilt it, zoom into the valley, all on a web page you can host anywhere or send as a folder. The technology under it is WebGL, the same browser 3D machinery behind web globes, and the plugin's job is translation, from GIS layers to a scene a browser can draw. This guide runs the full workflow in the order that works: prepare the project, export, test locally, publish, and then go further with glTF and 3D models. If plugins themselves are new to you, our guide to how to use QGIS plugins covers installing and managing them; this article assumes the plugin is installed and gets straight to the export.
Home / GIS and Open Map Data for Beginners
How to Use qgis2threejs: Turn a QGIS Project Into a 3D Web View
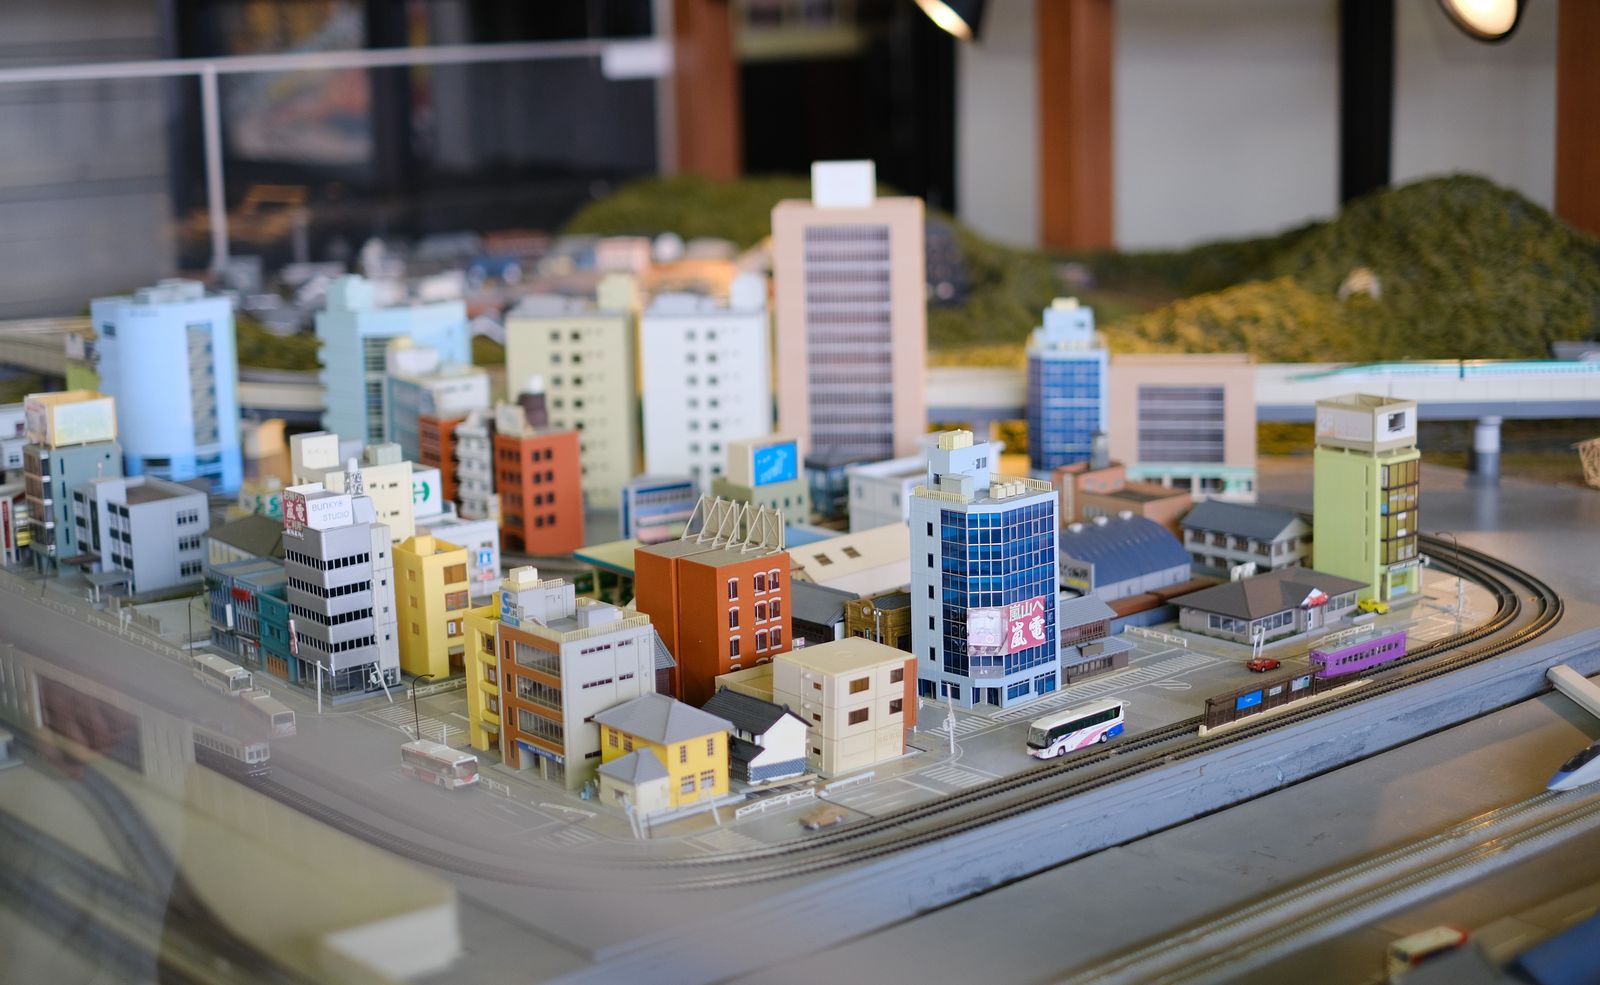
Photo: Vinny Anugraha / Pexels
Publish the 3D View: The qgis2threejs Checklist
Check off each step as you finish it. Your progress stays on this page.
0 of 8 complete
0% done
What the Plugin Actually Exports
Understand the product before the settings. qgis2threejs builds a web page containing a 3D scene generated from your project. The terrain comes from a DEM layer, a raster elevation model, which becomes the ground surface, textured by your map's appearance. Vector layers ride on top: points, lines, and polygons draped over the terrain or extruded above it, buildings being the classic case, raised to heights taken from a field in their data. The exported result is a folder of files, HTML, JavaScript, and data, that together are the viewer and the scene. Nothing in the folder phones home to your QGIS; it is a snapshot, frozen at export time. That snapshot nature is the plugin's strength and its discipline: the audience sees exactly the data you exported, and if the data changes, you export again.
Prepare the Project So the Export Looks Right
Exports fail in the project, not in the exporter. Three preparations decide most of the result. First, the DEM: the terrain is only as good as your elevation layer, so use the best DEM you have, clipped to your area of interest, because exporting a national DEM for a neighborhood scene wastes size and softens detail where it matters. Second, the extent and scale relationship: the scene is built around your project view and layer extents, and a project sprawling across a continent produces a scene where your subject is a speck; set the project to the ground you actually mean to show. Third, styling with intent: colors and symbols carry into the scene, so style the layers as you want them seen in 3D, not as you happen to have them while analyzing. Buildings deserve a decision of their own: extruded polygons need a height source, a height field in the attribute data, and if your buildings lack one, the scene will show a flat city no matter what the exporter is told. Prepare the data, and the export becomes a formality.
The Exporter, Setting by Setting
Open the exporter from the Web menu, where the plugin places its command, Qgis2threejs Exporter. The dialog organizes the scene into the choices that matter. The scene settings govern the terrain: which DEM layer forms the ground and the resolution at which it is sampled, where higher resolution means finer hills and larger exports. The layer sections govern each vector layer you include: whether it appears, how it sits on or above the terrain, and for polygons, whether they extrude and which field supplies the height. Points can carry labels and icons; lines can be raised or draped. Work through it with the preview mindset: export small and often while you learn what each control does to your specific project, because the interaction between your DEM's resolution, your extent, and your building heights is yours alone and no guide can precompute it. When the scene looks right, the export writes the folder, and the remaining work is delivery.

Run It Locally: The Same-Origin Trap and Its Switch
New users hit one confusing wall at this point: they double-click the exported page, and the scene refuses to load or loads without its data. The cause is a browser security rule, the same-origin policy, which restricts pages opened as local files from loading the data files beside them. The plugin anticipates this. The exporter offers an option labeled "Enable the Viewer to Run Locally," and turning it on packages the scene so it works from a local file, which is what you want for testing on your own machine and for sending the folder to someone who will open it from their disk. Learn to think of the two modes as two audiences: local mode for files passed hand to hand, server mode for a page the world visits. Test in the mode your audience will use, because a scene that works on your localhost and fails from a folder, or the reverse, is the classic last-minute embarrassment of this workflow.
Publish It: Any Web Server Will Do
The server route is the plugin's home ground. The documentation's Export to Web guidance describes the model plainly: export the scene to a folder and publish that folder to a web server, and the page is live. Any static hosting works, a folder on an existing website, a static site host, an internal server, because the export is self-contained web files with no database and no server-side code. Keep the folder together; the page expects its data and scripts at the paths the exporter wrote, so upload the whole folder as a unit rather than cherry-picking the HTML file. Then open the published URL in a browser you did not export from, on a network that is not yours if you can manage it, and orbit the scene once. That cold test, a stranger's browser on a stranger's connection, is the only verification that counts for a published view, and it takes ninety seconds.
Plan the scene's afterlife at the same sitting. A published 3D view is a snapshot, and snapshots age: the project will gain new data, a building will be surveyed properly, the DEM will be replaced by a better one. Decide now how updates will happen, because the workflow is simply re-export and re-upload of the whole folder, and the teams that suffer are the ones who hand-edit files inside the published folder and then cannot re-export without losing their edits. Treat the export as a build artifact, regenerated from the project whenever the project changes, and keep any customizations in the project itself or in a page that embeds the viewer rather than inside its output. Version the exports by date in your own archive, so that when a stakeholder asks what the scene showed last spring, the folder from last spring can answer. The plugin makes publishing easy; this small discipline makes it sustainable.
Go Further: glTF Scenes and 3D Models
The web page is not the only exit. The plugin can save the scene as glTF, in .gltf or .glb form, the standard interchange format for 3D content, which carries your terrain and buildings into 3D tools, game engines, and viewers that have nothing to do with GIS. The traffic runs the other way too: the plugin accepts 3D models in formats including .dae, .gltf, and .glb, so a landmark building, a tower, a bridge modeled properly in a 3D tool can be placed into your scene at its real location instead of being faked by an extruded footprint. Extrusion remains the workhorse for city-scale scenes, polygons raised by a height field, because it needs nothing but the data you already have. Reserve placed models for the handful of structures the audience will actually look at. And remember the sibling skill this article builds on: none of it means anything if the underlying QGIS project is wrong, so let the 3D view be the last step of a sound project, never a costume over a broken one.
Troubleshooting the First Export
First exports fail in a small number of repeatable ways, and each failure names its own fix. The terrain is flat or missing: the exporter had no DEM to build from, or the DEM layer was not the one selected in the scene settings; return to the project, confirm the elevation layer, and select it deliberately rather than trusting a default. The buildings are missing or lying flat: either the layer was not included in the export, or it was included without its height field assigned, and flat buildings are the signature of the second cause; assign the height field and re-export. The scene is the wrong place or a speck in a vast terrain: the project extent sprawled, and the export faithfully rendered all of it; clip the DEM and set the project to the ground you mean to show. The exported folder is enormous: the DEM resolution was sampled too finely for the extent, and the cure is the same discipline as any tile pyramid, coarser sampling over wide ground, fine sampling reserved for small scenes. The page opens but the view is blank or black in the browser: test the local-viewer setting if you are opening from disk, and try a second browser, because WebGL support or a blocked script is a viewer problem, not a data problem, and it separates cleanly once a second browser renders the same folder fine. Work this list in order and nearly every broken first export resolves into a checkbox, a field assignment, or an extent, which is encouraging news: the plugin's failures are configuration, not mystery.
Related Guides
Readers working through this topic usually need its closest companions too. These GIS and open map data guides cover the neighboring ground:
- New Layer From Selection in QGIS: Turn Chosen Features Into Their Own Dataset: A selection is an answer, but it evaporates: close the project, clear the highlight, and the features you so carefully isolated are anonymous again.
- QGIS Spatial Join: Join Attributes by Location, Explained With Its Predicates: A spatial join answers the question every GIS user meets in the first month: these points know what happened, those polygons know where it counts,...
- How to Merge Layers in QGIS: One Layer, Same Geometry, Shared CRS: Twelve district files that should be one province, four quarterly exports that should be one year: merging layers is the janitorial task every GIS...
Frequently Asked Questions
What do I need before using qgis2threejs?
A QGIS project with a DEM layer for terrain, the vector layers you want to show, and the qgis2threejs plugin installed and enabled. Buildings that should stand up in 3D need a height field in their data. The exporter opens from the Web menu once the plugin is active.
Why does my exported page not load when I open it from my disk?
Browsers restrict local files from loading neighboring data files, the same-origin policy. In the exporter, turn on the option to enable the viewer to run locally, and re-export. Scenes meant for a web server do not need it; scenes opened as local files do.
How do I put my qgis2threejs scene online?
Use Export to Web and publish the whole exported folder to any web server or static hosting. The export is self-contained, with no database or server code. Upload the folder as a unit, then test the live URL in a fresh browser before sharing it.
Can qgis2threejs export to formats other than a web page?
Yes. A scene can be saved as glTF, in .gltf or .glb form, for use in other 3D tools and engines. The plugin also accepts 3D models in formats such as .dae, .gltf, and .glb, so real modeled objects can be placed into a scene alongside extruded buildings.
How do buildings get their height in the 3D view?
Polygons are extruded using a height field from their attribute data: you tell the exporter which field holds the height, and each polygon rises by its value. Buildings without height data export flat, so preparing or joining a height field is a data step to finish in the project before exporting.
Photo credits: Vinny Anugraha (Pexels); Lisa Fotios (Pexels). Photos are served from this site; follow the credit to the library page for the original.